
Unique Pump Systems, Kailash Industrial Complex, Vikhroli (W)
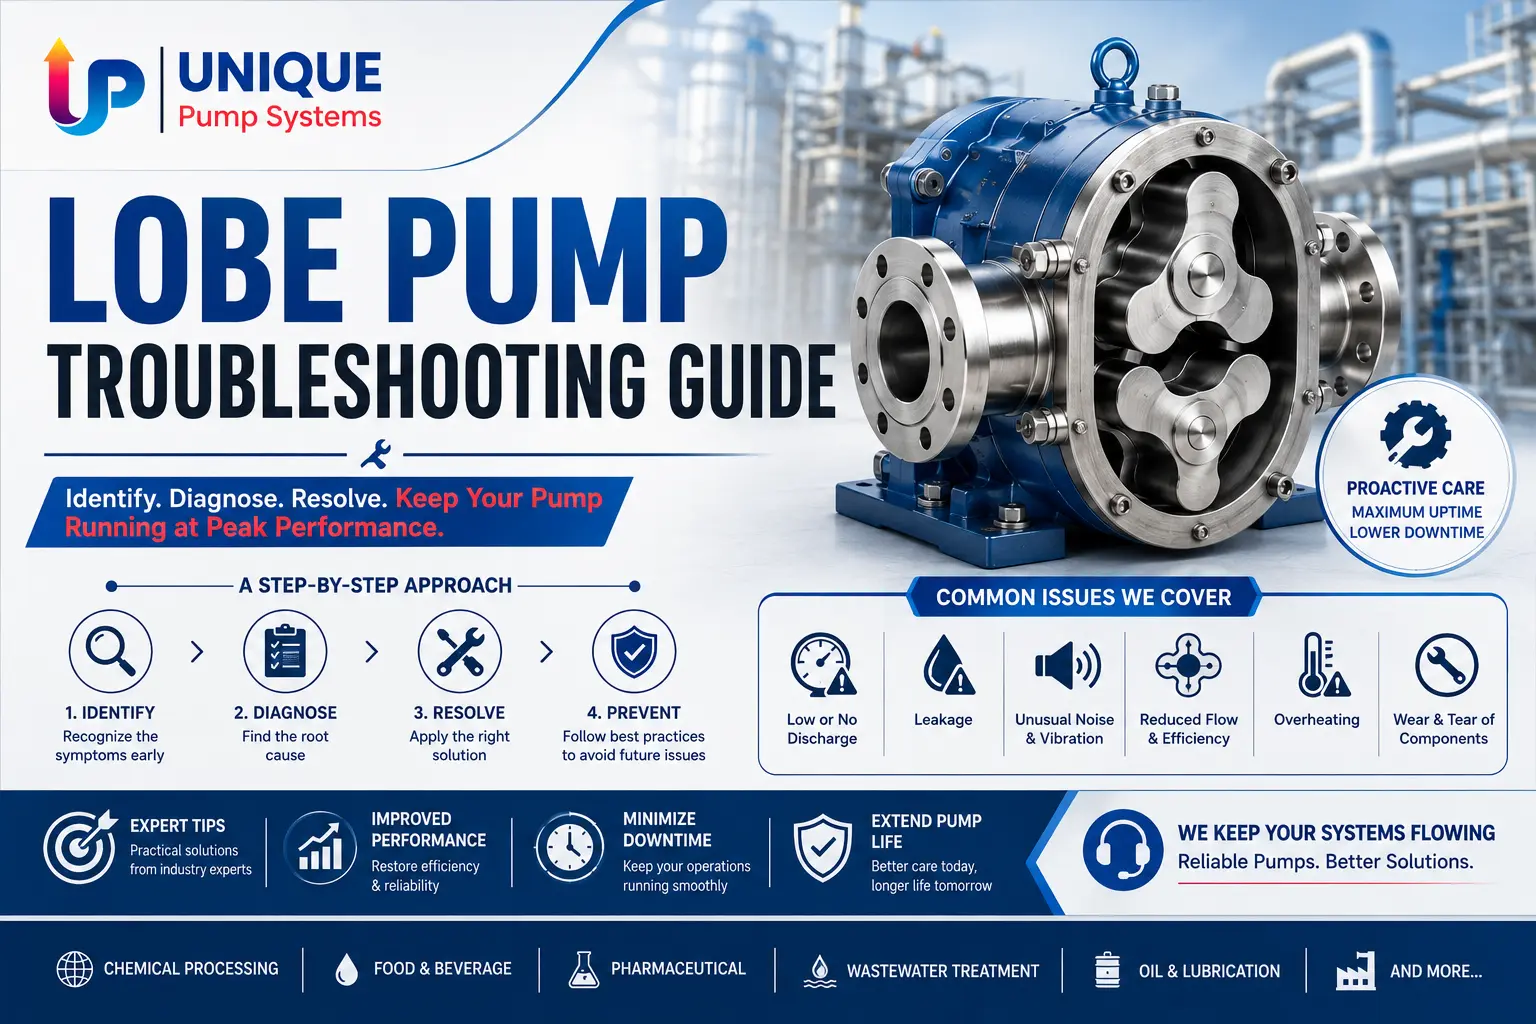
Most lobe pump problems come from four sources: suction restriction, worn clearances, seal failure or drive faults. If the pump makes noise but delivers nothing, suspect cavitation or air ingress. If flow falls gradually, suspect rotor and casing wear. If the motor trips, suspect a blockage, high viscosity or seized bearings.
A rotary lobe pump is a robust machine. Its rotors never touch each other, its product path is simple, and a well-installed unit will run for years. But when it does go wrong, production usually stops, and the pressure to fix it fast is intense.
The trouble is that most lobe pump symptoms have several possible causes. "No flow" could be a closed valve, an air leak, a sheared key, a blocked strainer or a stripped timing gear. Guessing wastes hours and often makes things worse. Working through a structured diagnostic sequence takes fifteen minutes and usually finds it first time.
This guide is written the way an experienced service engineer actually works: symptom first, then the checks in order of likelihood and ease, then the fix.
You will learn:
Two lobed rotors turn in opposite directions inside a close-fitting casing, driven by external timing gears so they never touch each other. Fluid is drawn into the expanding cavity at the inlet, carried around the casing wall in the space between the lobes, and pushed out at the discharge.
Three facts drive almost all troubleshooting:
Before dismantling anything, run these checks in order. They resolve a surprising proportion of faults.
That last question solves more faults than any tool. Pumps rarely fail spontaneously; something usually changed.
| Symptom | Most Likely Causes | First Checks |
| No flow | Closed valve, wrong rotation, air lock, sheared key, empty tank | Rotation, valves, tank level |
| Low flow | Worn clearances, blocked strainer, cavitation, high slip, low speed | Strainer, suction vacuum, motor speed |
| Flow drops over months | Progressive rotor and casing wear | Clearance measurement |
| Will not prime | Air leak, worn clearances, excessive lift, dry casing | Suction joints, prime the casing |
| Rattling or knocking | Cavitation, foreign object, rotor contact | Suction vacuum, inspect casing |
| Whining or squealing | Bearing failure, seal running dry, gearbox wear | Bearing temperature, seal flush |
| Vibration | Misalignment, worn bearings, cavitation, damaged rotor | Alignment, bearing play |
| Seal leaks | Worn faces, dry running, wrong elastomer, over-pressure | Seal condition, flush supply |
| Overheating | Dry running, excessive pressure, low flow, gearbox oil low | Discharge pressure, oil level |
| Motor trips | Blockage, high viscosity, seized bearing, over-pressure | Discharge pressure, turn by hand |
| Rapid wear | Abrasives, over-speed, over-pressure, misalignment | Product analysis, duty conditions |
| Product in gearbox | Seal failure | Strip and inspect |
| Pump will not turn | Product solidified, seized bearing, rotor contact, foreign object | Turn by hand with power isolated |
| Possible Cause | How to Confirm | Fix |
| Wrong direction of rotation | Compare shaft rotation with the casing arrow | Swap two motor phases |
| Suction or discharge valve closed | Visual check on every valve including bypass | Open valves, add lockout labels |
| Supply tank empty or below the outlet | Physically check the tank | Refill, reposition the suction |
| Air lock in the casing | High vacuum, no discharge pressure rise | Vent and prime the pump |
| Sheared key or broken coupling | Motor turns, pump shaft does not | Replace key or coupling element |
| Stripped timing gears | Rotors do not turn together | Replace gears, inspect rotors |
| Suction line completely blocked | Very high vacuum reading | Clear line and strainer |
| Bypass or relief valve stuck open | Discharge pressure never builds | Inspect, clean or reset relief valve |
| Product solidified in the pump | High motor current, pump barely turns | Heat, flush and clean the head |
Diagnostic shortcut: if the suction gauge shows high vacuum, the restriction is upstream. If it shows nothing at all, the pump is not creating suction — check rotation, keys, gears and internal clearances.
This is the most common lobe pump complaint and almost always has a mechanical explanation.
| Cause | Mechanism | Corrective Action |
| Worn rotor and casing clearances | Increased slip past the rotors | Measure clearances, refurbish or replace |
| Blocked or partly clogged strainer | Restricted flow into the pump | Clean strainer, review mesh size |
| Cavitation | Vapour pockets reduce effective displacement | Improve NPSH, slow the pump, enlarge suction line |
| Air ingress through suction joints | Air displaces product volume | Pressure test suction line, remake joints |
| Higher viscosity than design | Cavities do not fill completely | Reduce speed, heat product, enlarge inlet |
| Increased discharge pressure | Slip rises with differential pressure | Investigate downstream restriction |
| Reduced pump speed | VFD setting, belt slip, gearbox issue | Verify actual shaft rpm |
| Relief valve partly open or reseating poorly | Product recirculating internally | Inspect and reset relief valve |
| Worn timing gears causing rotor drift | Clearance changes under load | Measure backlash, replace gears |
Practical test: run the pump at a known speed against a known pressure and measure actual flow. Compare with commissioning data. A 10 percent loss is normal wear; a 30 percent loss means intervention is due.
Lobe pumps have moderate self-priming ability, and it depends entirely on clearances being tight enough to create vacuum.
Check in this order:
Fix priorities: remake suction joints, shorten and enlarge the suction line, prime the casing, and if the pump still will not prime, measure clearances.
Noise is diagnostic. Learn the difference between the types.
| Noise Type | Description | Likely Cause | Action |
| Crackling, like gravel | Random, worse at higher flow | Cavitation | Increase NPSH available, slow pump, enlarge suction |
| Regular knocking | Once or twice per revolution | Rotor contact or damaged rotor | Stop immediately, inspect rotors and timing |
| Continuous rattling | Constant, metallic | Foreign object in casing | Isolate, open cover, remove object |
| High-pitched whine | Rises with speed | Bearing wear or gearbox issue | Check bearing temperature and gearbox oil |
| Squealing | Near the seal area | Seal running dry | Restore flush, check for dry running |
| Hydraulic hammer | Bangs on start or stop | Rapid valve closure, water hammer | Slow valve actuation, fit dampener |
| Whistling at the suction | Hissing | Air being drawn in through a joint | Locate and seal the leak |
Important: knocking noises should stop the pump. Cavitation degrades performance over weeks; rotor contact destroys a pump in minutes.
| Cause | Confirmation | Fix |
| Coupling misalignment | Dial gauge or laser alignment check | Realign to manufacturer tolerance |
| Worn or damaged bearings | Vibration analysis, temperature rise, shaft play | Replace bearings, review lubrication |
| Cavitation | Accompanied by crackling noise, high vacuum | Correct suction conditions |
| Damaged or unbalanced rotor | Visual inspection during strip-down | Replace rotor set |
| Loose baseplate or mounting bolts | Physical check with a spanner | Retighten, re-grout if needed |
| Unsupported pipework | Pipe strain visible when bolts are loosened | Add pipe supports, fit flexible connectors |
| Bent shaft | Runout measurement | Replace shaft |
| Resonance with pump pulsation | Vibration at lobe passing frequency | Change speed, add dampener or pipe supports |
Pipe strain is the most under-diagnosed cause of lobe pump vibration and seal failure. Test for it: with the pump running normally, slacken the flange bolts. If the pipe moves, you have strain, and it has been loading your bearings and seal every hour of operation.
Mechanical seals are the most frequent lobe pump failure item. Diagnosing why the seal failed matters more than replacing it, because the same cause will destroy the new one.
| Cause | Evidence on the Old Seal | Prevention |
| Dry running | Heat cracking, blue discolouration, scored faces | Dry-run protection, tank level interlock |
| Abrasive product | Grooved faces, worn elastomers | Flushed or double seal arrangement |
| Wrong elastomer for the product | Swollen, hardened or cracked O-rings | Verify chemical compatibility |
| Over-pressure | Face distortion, extruded O-rings | Fit and set a relief valve |
| Crystallising product | Hard deposits on faces and springs | Seal flush or quench arrangement |
| Misalignment or pipe strain | Uneven wear pattern on the face | Correct alignment and pipe supports |
| Incorrect installation | Chipped faces, wrong setting length | Use cartridge seals to reduce fitting error |
| Excessive temperature | Carbonised product, thermal cracking | Verify temperature limits, add cooling |
Selecting the correct mechanical seal arrangement — single, flushed, double or cartridge — for the actual product, temperature and pressure eliminates the majority of repeat failures. A seal that fails twice in a year is not a seal problem; it is a specification or installation problem.
| Location of Heat | Likely Cause | Action |
| Pump head hot | Dry running, product recirculating, excessive differential pressure | Check flow path, relief valve, discharge restriction |
| Bearing housing hot | Over-lubrication, under-lubrication, misalignment, bearing failure | Correct grease quantity, check alignment |
| Gearbox hot | Low or degraded oil, overload, wrong oil grade | Replace oil to specification, check duty |
| Seal area hot | Loss of flush, dry running | Restore flush supply, check tank level |
| Motor hot | Overload, high ambient, blocked cooling fan | Measure current, clear ventilation |
Rule of thumb: a bearing housing you cannot hold your hand on comfortably (above roughly 70 °C) needs investigation the same day.
| Cause | Check | Fix |
| Discharge blocked or valve closed | Discharge pressure gauge | Open the line, verify relief valve setting |
| Product viscosity higher than design | Product temperature, batch record | Heat product, slow pump, review sizing |
| Product setting or solidifying in the pump | Pump hard to turn by hand | Flush warm, review shutdown procedure |
| Seized bearing | Turn shaft by hand with power isolated | Replace bearings |
| Rotor contact | Grinding resistance when turned | Strip, inspect rotors and timing gears |
| Foreign object | Hard stop at one point in rotation | Isolate and remove |
| Incorrect motor or drive setting | Nameplate versus actual load, VFD parameters | Recalculate duty, correct settings |
| Electrical fault | Insulation and phase balance test | Electrical inspection |
Never reset a tripped motor repeatedly without diagnosis. Each restart against a blockage risks shearing keys, damaging gears and destroying rotors.
If you are replacing rotors more than once every few years, something in the application is wrong.
| Root Cause | Symptom Pattern | Correction |
| Abrasive solids in the product | Uniform tip and casing wear | Hardened rotors, slower speed, upstream filtration |
| Running over-speed | Wear plus cavitation damage | Reduce speed, resize pump |
| Operating above rated differential pressure | Heavy tip wear, high current | Investigate downstream restriction |
| Cavitation | Pitting on rotor and casing surfaces | Improve suction conditions |
| Misalignment or pipe strain | One-sided wear pattern | Realign, support pipework |
| Thermal expansion at high temperature | Contact wear on hot duty only | Set clearances for operating temperature |
| Dry running episodes | Seal and rotor heat damage | Level interlocks and dry-run protection |
Where product is genuinely abrasive and the wear is unavoidable, a diaphragm pump can be a more economical answer. An aodd pump has no close-running clearances to wear, tolerates abrasive slurries and can be rebuilt with a low-cost elastomer kit rather than machined rotating elements.
Rotor contact is the most serious lobe pump failure because it usually damages the rotors, the casing and sometimes the shafts at the same time.
Causes:
Warning signs before failure:
Action: stop the pump immediately. Strip, inspect rotors, casing, timing gears, bearings and shafts, and measure backlash. Never reassemble with worn timing gears — the new rotors will be destroyed within weeks.
| Contaminant Found | Source | Fix |
| Gearbox oil in product | Failed mechanical seal or lip seal | Replace seal, investigate the root cause |
| Metal particles | Rotor contact, bearing failure | Full strip and inspection |
| Elastomer fragments | Degraded O-rings or seal elastomers | Verify chemical compatibility, replace |
| Discolouration | Product overheating or degrading in the pump | Reduce recirculation, check temperature |
| Previous batch residue | Incomplete CIP, dead legs, poor drainage | Review CIP regime, verify drainability |
In hygienic applications, always investigate a contamination event fully. A seal that leaks gearbox oil into food product is a food safety event, not just a maintenance issue.
With power fully isolated, try turning the shaft by hand.
| Feel | Diagnosis | Action |
| Completely solid | Solidified product, seized bearing, jammed foreign object | Flush warm, then strip if still solid |
| Gritty or grinding | Bearing failure or rotor contact | Full strip and inspection |
| Hard at one point only | Foreign object or damaged rotor lobe | Open cover and inspect |
| Free but pump does not pump | Sheared key or broken coupling | Replace drive components |
| Stiff and warm | Product setting after shutdown | Review flush-out procedure at end of run |
Preventing solidification is straightforward: flush the pump with a compatible fluid at the end of every run with products that set, crystallise or cure.
Clearance is the single most important measurement in lobe pump condition assessment.
| Clearance | Typical New Value | Effect of Wear | Action Threshold |
| Rotor tip to casing (radial) | 0.10–0.30 mm | Increased slip, reduced flow | Roughly double the new value |
| Rotor to rotor (front) | 0.10–0.25 mm | Risk of contact | Investigate timing gears if growing |
| Rotor to cover (front face) | 0.10–0.25 mm | Slip and possible contact | Reset with shims per manual |
| Rotor to backplate (rear face) | 0.10–0.25 mm | Slip | Reset per manual |
| Timing gear backlash | Per manufacturer specification | Rotor contact risk | Replace gears when out of tolerance |
Notes:
| Indicator | Normal | Warning | Act Now |
| Motor current | Baseline ±5% | +10–15% | +20% or rising fast |
| Delivered flow | Baseline | −10% | −25% or more |
| Bearing temperature | Under 60 °C | 60–70 °C | Over 70 °C |
| Suction vacuum | Design value | Rising steadily | Approaching cavitation limit |
| Noise | Familiar hum | New tone | Knocking or grinding |
| Seal | Dry | Occasional drip | Continuous leak |
| Gearbox oil | Clear, correct level | Slight discolouration | Milky, metallic or low |
Trending these seven readings weekly converts unplanned breakdowns into planned maintenance. It costs nothing but a clipboard or a simple log sheet.
| Task | Daily | Weekly | Monthly | 6 Months | Annually |
| Visual leak inspection | Yes | ||||
| Listen for noise change | Yes | ||||
| Check suction and discharge pressures | Yes | ||||
| Record motor current | Yes | ||||
| Clean suction strainer | Yes | ||||
| Check gearbox oil level | Yes | ||||
| Check bearing temperature | Yes | ||||
| Verify coupling alignment | Yes | ||||
| Change gearbox oil | Yes | ||||
| Inspect seal condition | Yes | ||||
| Measure rotor clearances | Yes | ||||
| Check timing gear backlash | Yes | ||||
| Test relief valve setting | Yes | ||||
| Full performance test against baseline | Yes |
| Myth | Fact |
| "Noise is normal in a lobe pump" | Every pump has a normal sound. A change in sound is always meaningful |
| "A leaking seal just needs replacing" | Repeat seal failure is a symptom; find the root cause or it will happen again |
| "Lobe pumps can run dry for a few seconds" | Seal faces can be damaged in well under a minute |
| "Low flow always means a worn pump" | A blocked strainer or air leak is far more common and much cheaper to fix |
| "Bigger clearances are safer" | Excess clearance means slip, lost flow and wasted energy |
| "Tightening the seal stops the leak" | Mechanical seals are not adjustable like gland packing; over-tightening damages them |
| "If it still pumps, it's fine" | A pump running at 70 percent of rated flow is wasting energy every hour |
| "Positive displacement pumps don't need relief valves" | They do — they will burst pipework before they stop pumping |
The most common causes are a closed valve, incorrect rotation direction, an empty supply tank, an air lock, or a sheared key or coupling. Check rotation against the casing arrow first, then valves and tank level, then confirm the pump shaft is actually turning with the motor.
Worn rotor and casing clearances increase internal slip and gradually reduce flow. Other frequent causes include a blocked suction strainer, cavitation from a restricted suction line, air ingress at suction joints, higher-than-design viscosity, reduced pump speed, or a relief valve that is not reseating properly.
Regular knocking synchronised with shaft speed usually means rotor-to-rotor or rotor-to-casing contact, often caused by worn timing gears or loose rotor nuts. Stop the pump immediately and inspect. Random crackling like gravel is cavitation instead, which needs improved suction conditions rather than dismantling.
Measure clearances with feeler gauges at several rotational positions and compare against the manufacturer's new and maximum values. Practically, a flow loss above 20–25 percent at the same speed and pressure, along with reduced priming ability, indicates that refurbishment is due.
Repeat seal failure is caused by an underlying condition, not seal quality. The usual culprits are dry running, abrasive product, chemical incompatibility of the elastomer, excessive pressure, misalignment or pipe strain. Examine the failed faces for clues, then correct the root cause before fitting a new seal.
No. Even though the rotors never touch each other, the mechanical seal relies on the pumped fluid for lubrication and cooling and can be destroyed within a minute. Fit tank level interlocks or dry-run protection on any pump that could lose suction unattended.
Common causes include dry running, operating against excessive discharge pressure, product recirculating internally through a partly open relief valve, low or degraded gearbox oil, bearing failure, and misalignment. Identify where the heat is — pump head, bearing housing, gearbox or motor — to narrow the diagnosis quickly.
Usually because torque demand has risen: a blocked discharge, closed valve, viscosity higher than design, product solidifying in the pump, a seized bearing, rotor contact or a foreign object. Isolate the power and try turning the shaft by hand. Never keep resetting the overload without finding the cause.
Inspect seals and check alignment every six months, change gearbox oil every six months or per the manual, and measure rotor clearances and timing gear backlash annually. Full overhaul intervals vary widely with duty — typically three to five years on clean, non-abrasive service.
Cavitation occurs when suction pressure drops below the fluid's vapour pressure, forming vapour bubbles that collapse violently inside the pump. It sounds like gravel and pits the rotors and casing. Fix it by enlarging the suction line, shortening it, cleaning the strainer, reducing pump speed or raising the supply level.
Routine tasks such as seal replacement, strainer cleaning, clearance measurement and gearbox oil changes are well within the scope of a competent maintenance fitter with the manual to hand. Rotor timing, gear replacement and casing refurbishment usually need manufacturer support to preserve clearances and warranty.
Replace when refurbishment cost approaches 50–60 percent of a new pump, when the casing itself is worn beyond limits, when the pump is fundamentally undersized or wrongly specified for the current duty, or when spares for an obsolete model are no longer economically available.
| Situation | Recommended Action |
| Worn rotors, casing within limits | Replace rotors, keep the pump |
| Worn casing and rotors | Compare refurbishment cost with new pump |
| Repeated seal failure | Fix the root cause; do not keep replacing seals |
| Pump undersized for current duty | Replace with correctly sized unit |
| Timing gear wear | Replace gears immediately, inspect rotors |
| Obsolete model, spares unavailable | Plan a replacement before the next failure |
| Cost of repair over 50–60% of new | Replace |
A properly maintained lobe pump should give many years of reliable service. When troubleshooting becomes a monthly routine, the problem is almost never the pump itself — it is the application, the installation or the maintenance regime around it.